2020年7月17日金曜日

cherish (CSI COLD CASE FILE #326 DT Work)


Hi again! Here is my layout for the Cold Case File from CSI. Here is the case file;

またまたこんにちは!今日は、CSI の材料消費チャレンジです。こちらがチャレンジ;


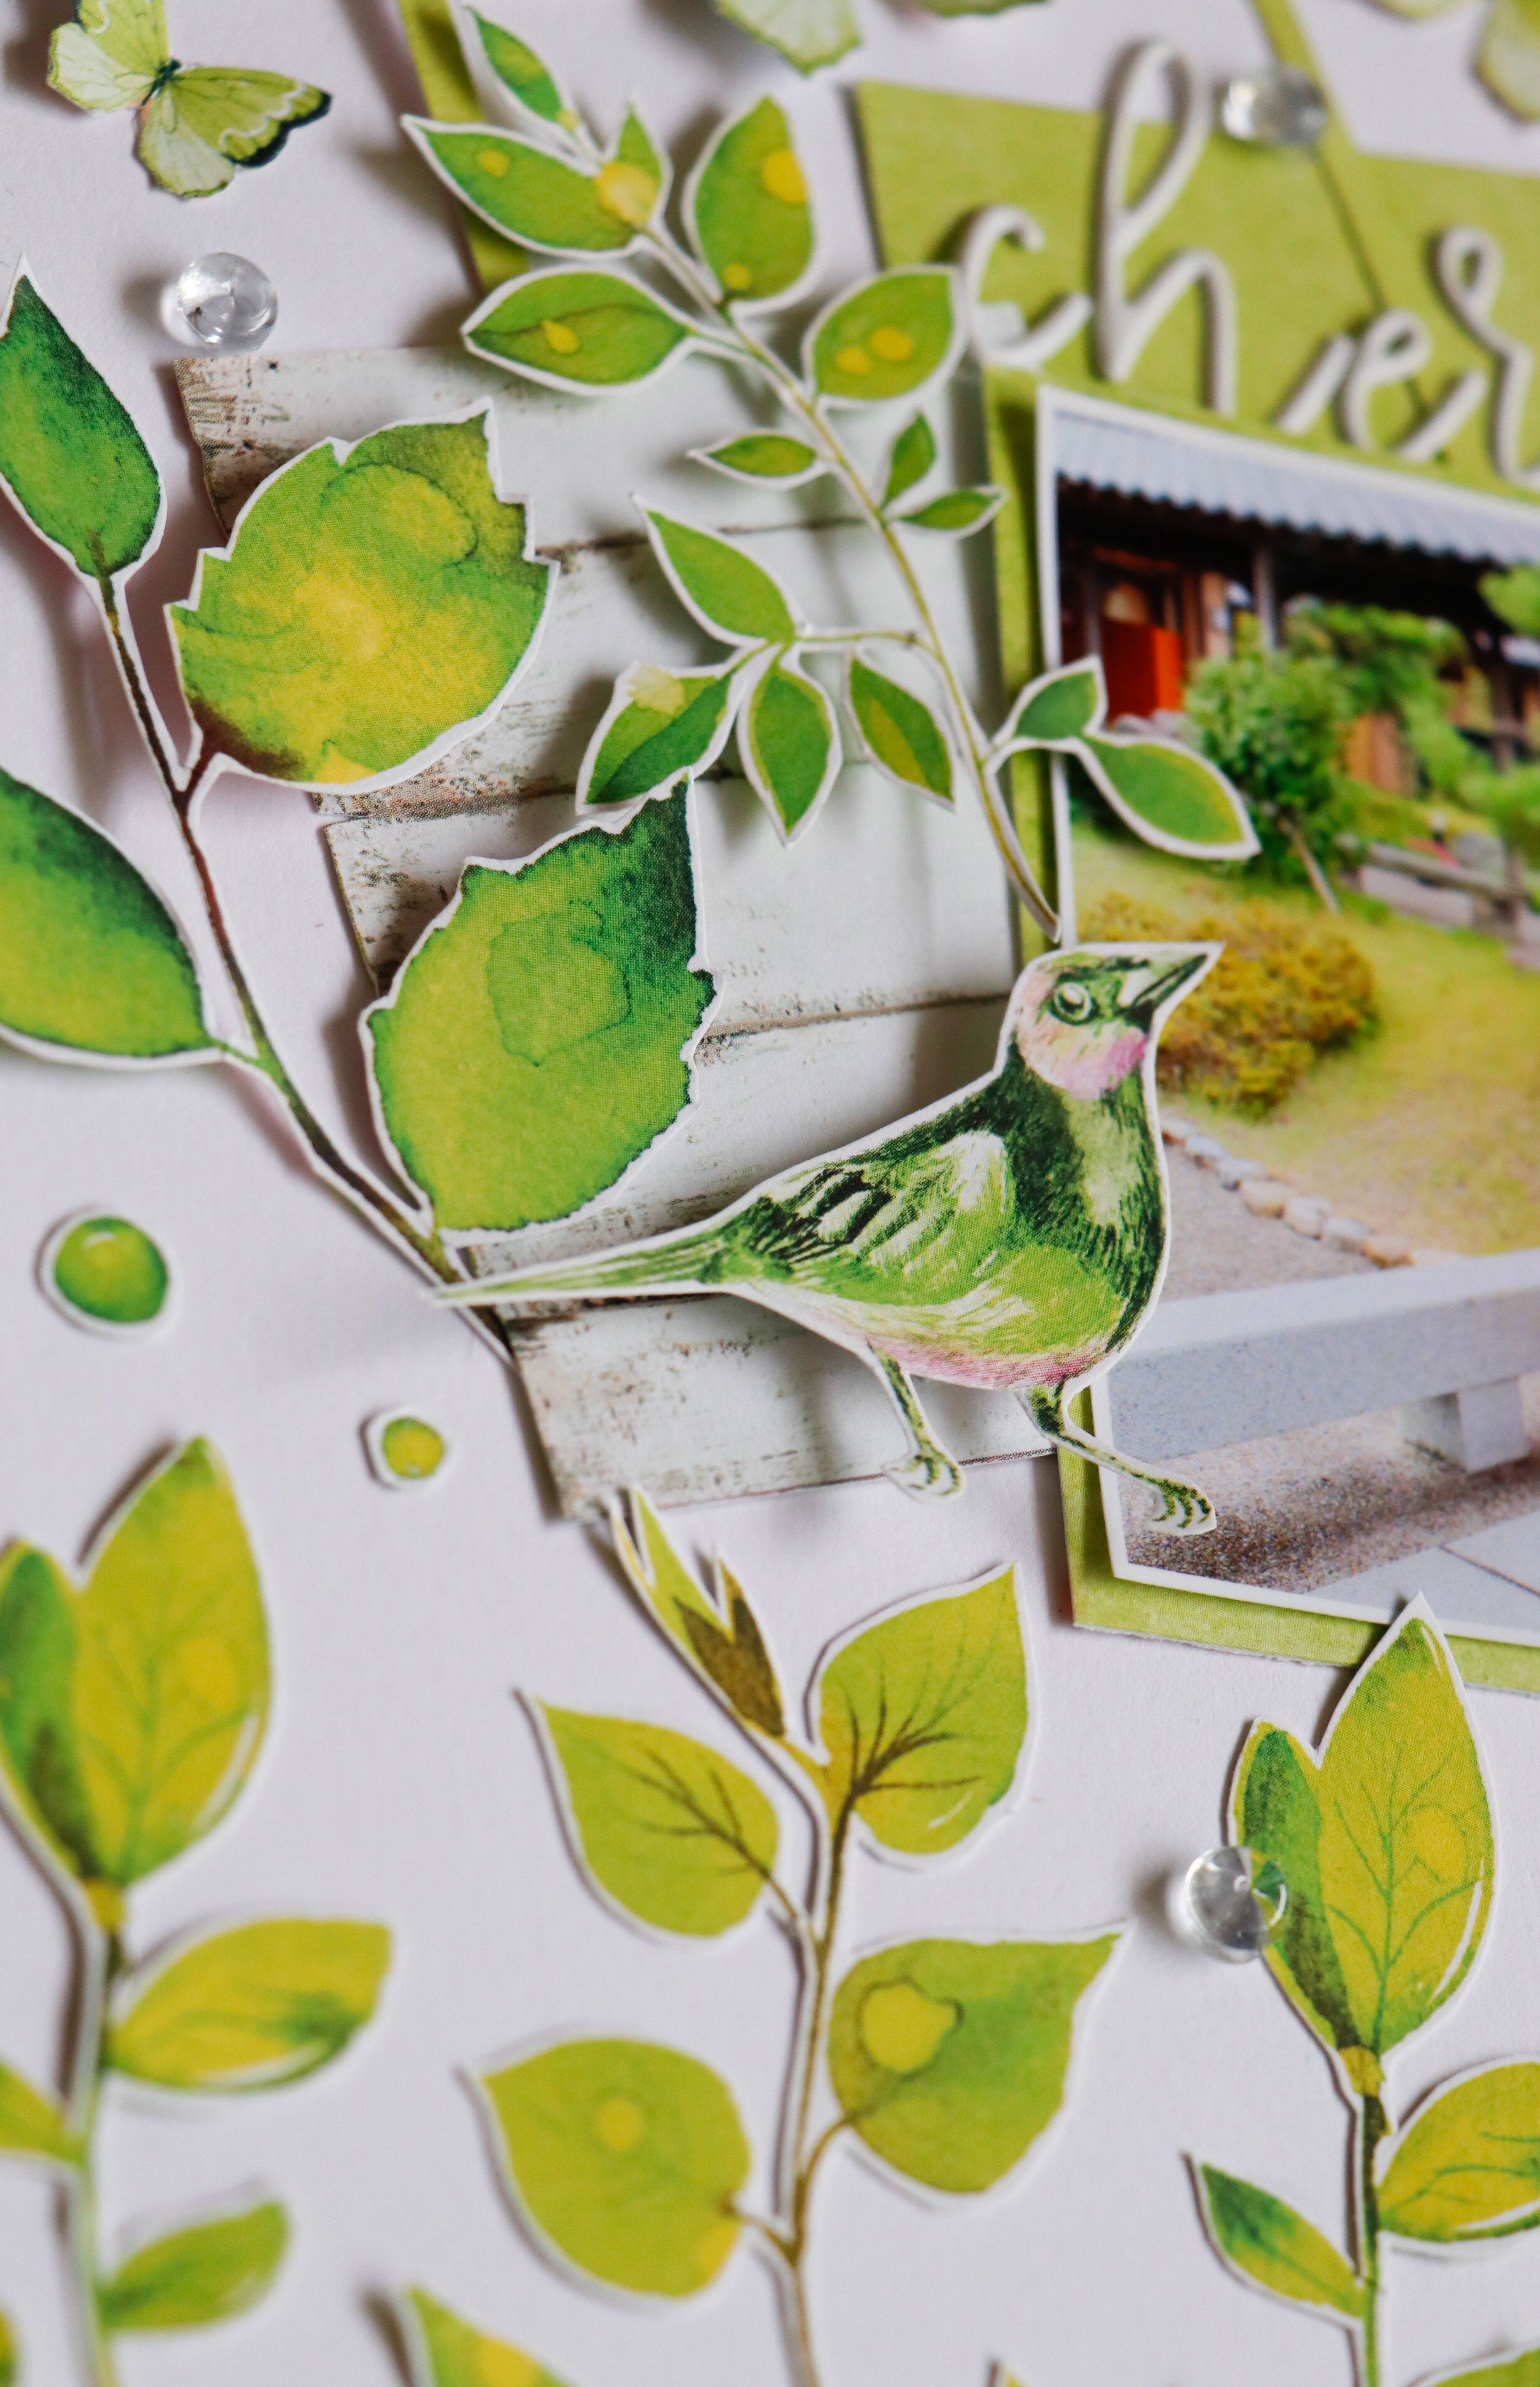
This time I decided to make a monochromatic layout with the color green. I had leftover paper with a lot ot leaves in it, so decided to cut them out. I also cut green frames, butterflies and birds. I thought of painting the background before I adhered anything, but I decided not to. However, I wanted to add a little more of something, so I layered  green check paper on the left and bottom and machine stitched with green thread. I adhered foam under some of the cut out pieces to add dimention, and scattered cut out dots and clear dew drops. Here are the close-ups;

今回は、グリーンを使ってモノクロマティックなレイアウトを作ることにしました。余りペーパーの中に葉っぱがたくさんあったので、カットアウトしました。さらにグリーンのフレームや蝶、鳥をチョキチョキ。背景を着色しょうか迷いましたが、今回はなしで!でも何か少し足したかったので、左側と下にグリーンチェックのペーパーを重ね、グリーンの糸でミシンをかけました。カットアウトしたものはポップアップしたりしなかったりで立体感を。最後にカットアウトしたドットとクリアのエナメルドッツを散らして完成!クローズアップです♪


I love the fresh, green page and reminds me of early summer. Fresh leaves with morning dew. Thank you for stopping by, and I hope you can use up some of your stash too with this challenge.

初夏を思い出すようなレイアウトになりました!訪問して下さり、ありがとうございました。皆さんも眠っている材料、このチャレンジで消費してみてね♡


Natsuko xxx

2020年7月15日水曜日

Make your own Magic (CSI CASE FILE #325 DT Work)


Hi! Here is my layout for the mid month case file for CSI. Here is the challenge.

こんにちは!今日は CSI 二つ目のレイアウトです。こちらがチャレンジ♪


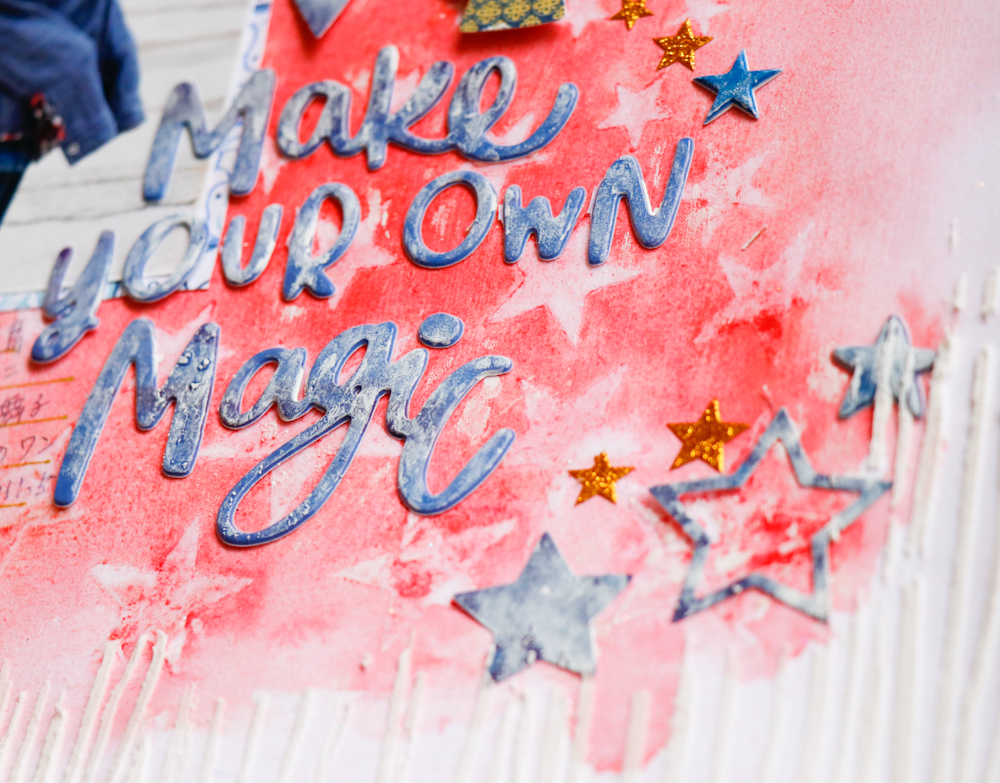
I used some glittery paste and a stencil to put star patterns on the background, and sprayed and smudged red paint over it. I also added a wood-grain pattern with modeling paste on the top and bottom of the layout. Then I cut wavy lines on the left side and bottom of the layout and layered a stripe patterned paper. I stiched the edges to add some more texture. I cut out stars with my die-cutting machine and placed them around the photo along with star stickers, wooden accents, ribbon, a button  and diecuts.Then I realized that the colors were too dark, so I smudges some white acrylic paint over the bits and pieces. I like this effect because it matches the color of the jeans in the picture. Here are the close-ups;

背景にグリッター入りのペーストと星のステンシルで模様をつけ、上から赤い絵の具をスプレー。さらに木目のステンシルとモデペでレイアウトの上下に模様をつけました。左側と下をなみなみにカットし、ストライプのパターンペーパーを重ねてミシンをかけました。ダイカットマシンでカットした星と、ステッカー、木のピース、リボン、ボタン、ダイカットなどを写真の周りに飾りつけ。青色が濃かったので上から白のアクリル絵の具を少し乗せました。写真のジーンズの色にマッチしていい感じ!クローズアップです♪


I didn't plan to use so much paint and paste at the beginning, but I like all the textures! Thank you for stopping by, and I hope this inspired you in some way.

最初はこんなに絵の具やペーストを使う予定ではなかったのですが、このぼこぼこしたテクスチャー、なかなか気に入っています!立ち寄っていただき、ありがとうございました。皆さんの作品作りのヒントに少しでもお役に立てたら嬉しいです♡


Natsuko xxx

2020年7月13日月曜日

BIG KAHUNA (My Creative Scrapbook DT Work)


Hi!! I'm so excited to introduce my mini album made with July's  My Creative Scrapbook Limited Edition kit. I have already showed you 6 12 inch layouts, and I still had enough to make this mini. 

It was easy to make! I cut out circles from the leftover paper and connected them with scraps of square paper. This way I was able to make an accordion album. I was able to adhere 17 pictures! Here are the close-ups;

こんにちは!My Creative Scrapbook  のLEキットで作ったミニアルバムを紹介します!すでに12インチを6枚、このキットで作りましたが、まだまだ材料が残ってる!ということで、このミニアルバムを作りました。

作り方は簡単!残りペーパーから〇をたくさんカットし、端切れペーパーを四角にカットしてつなげただけ。アコーディオンミニアルバムの出来上がり!写真は小さくプリントして17枚貼ることができました。クローズアップです♪


This is what the back side looks like.


I really loved creating with this kit, and I was able to use up most of it!

このキットで作るのは本当に楽しかった!そして材料のほとんどを使い切ったので、達成感!笑

You can get more information about this and the other kits at My Creative Scrapbook and you can find tons of inspiration in the blog too!

Thank you for visiting,  and have a scrappy day!

このキットと、その他のキットは My Creative Scrapbook で買えますよ~。ブログもどうぞ!
訪問して下さり、ありがとうございます!


2020年7月12日日曜日

THE BEST BEACH (My Creative Scrapbook DT Work)


Hi friends! This is my last 12 inch layout I made with July's My Creative Scrapbook Limited Edition kit.

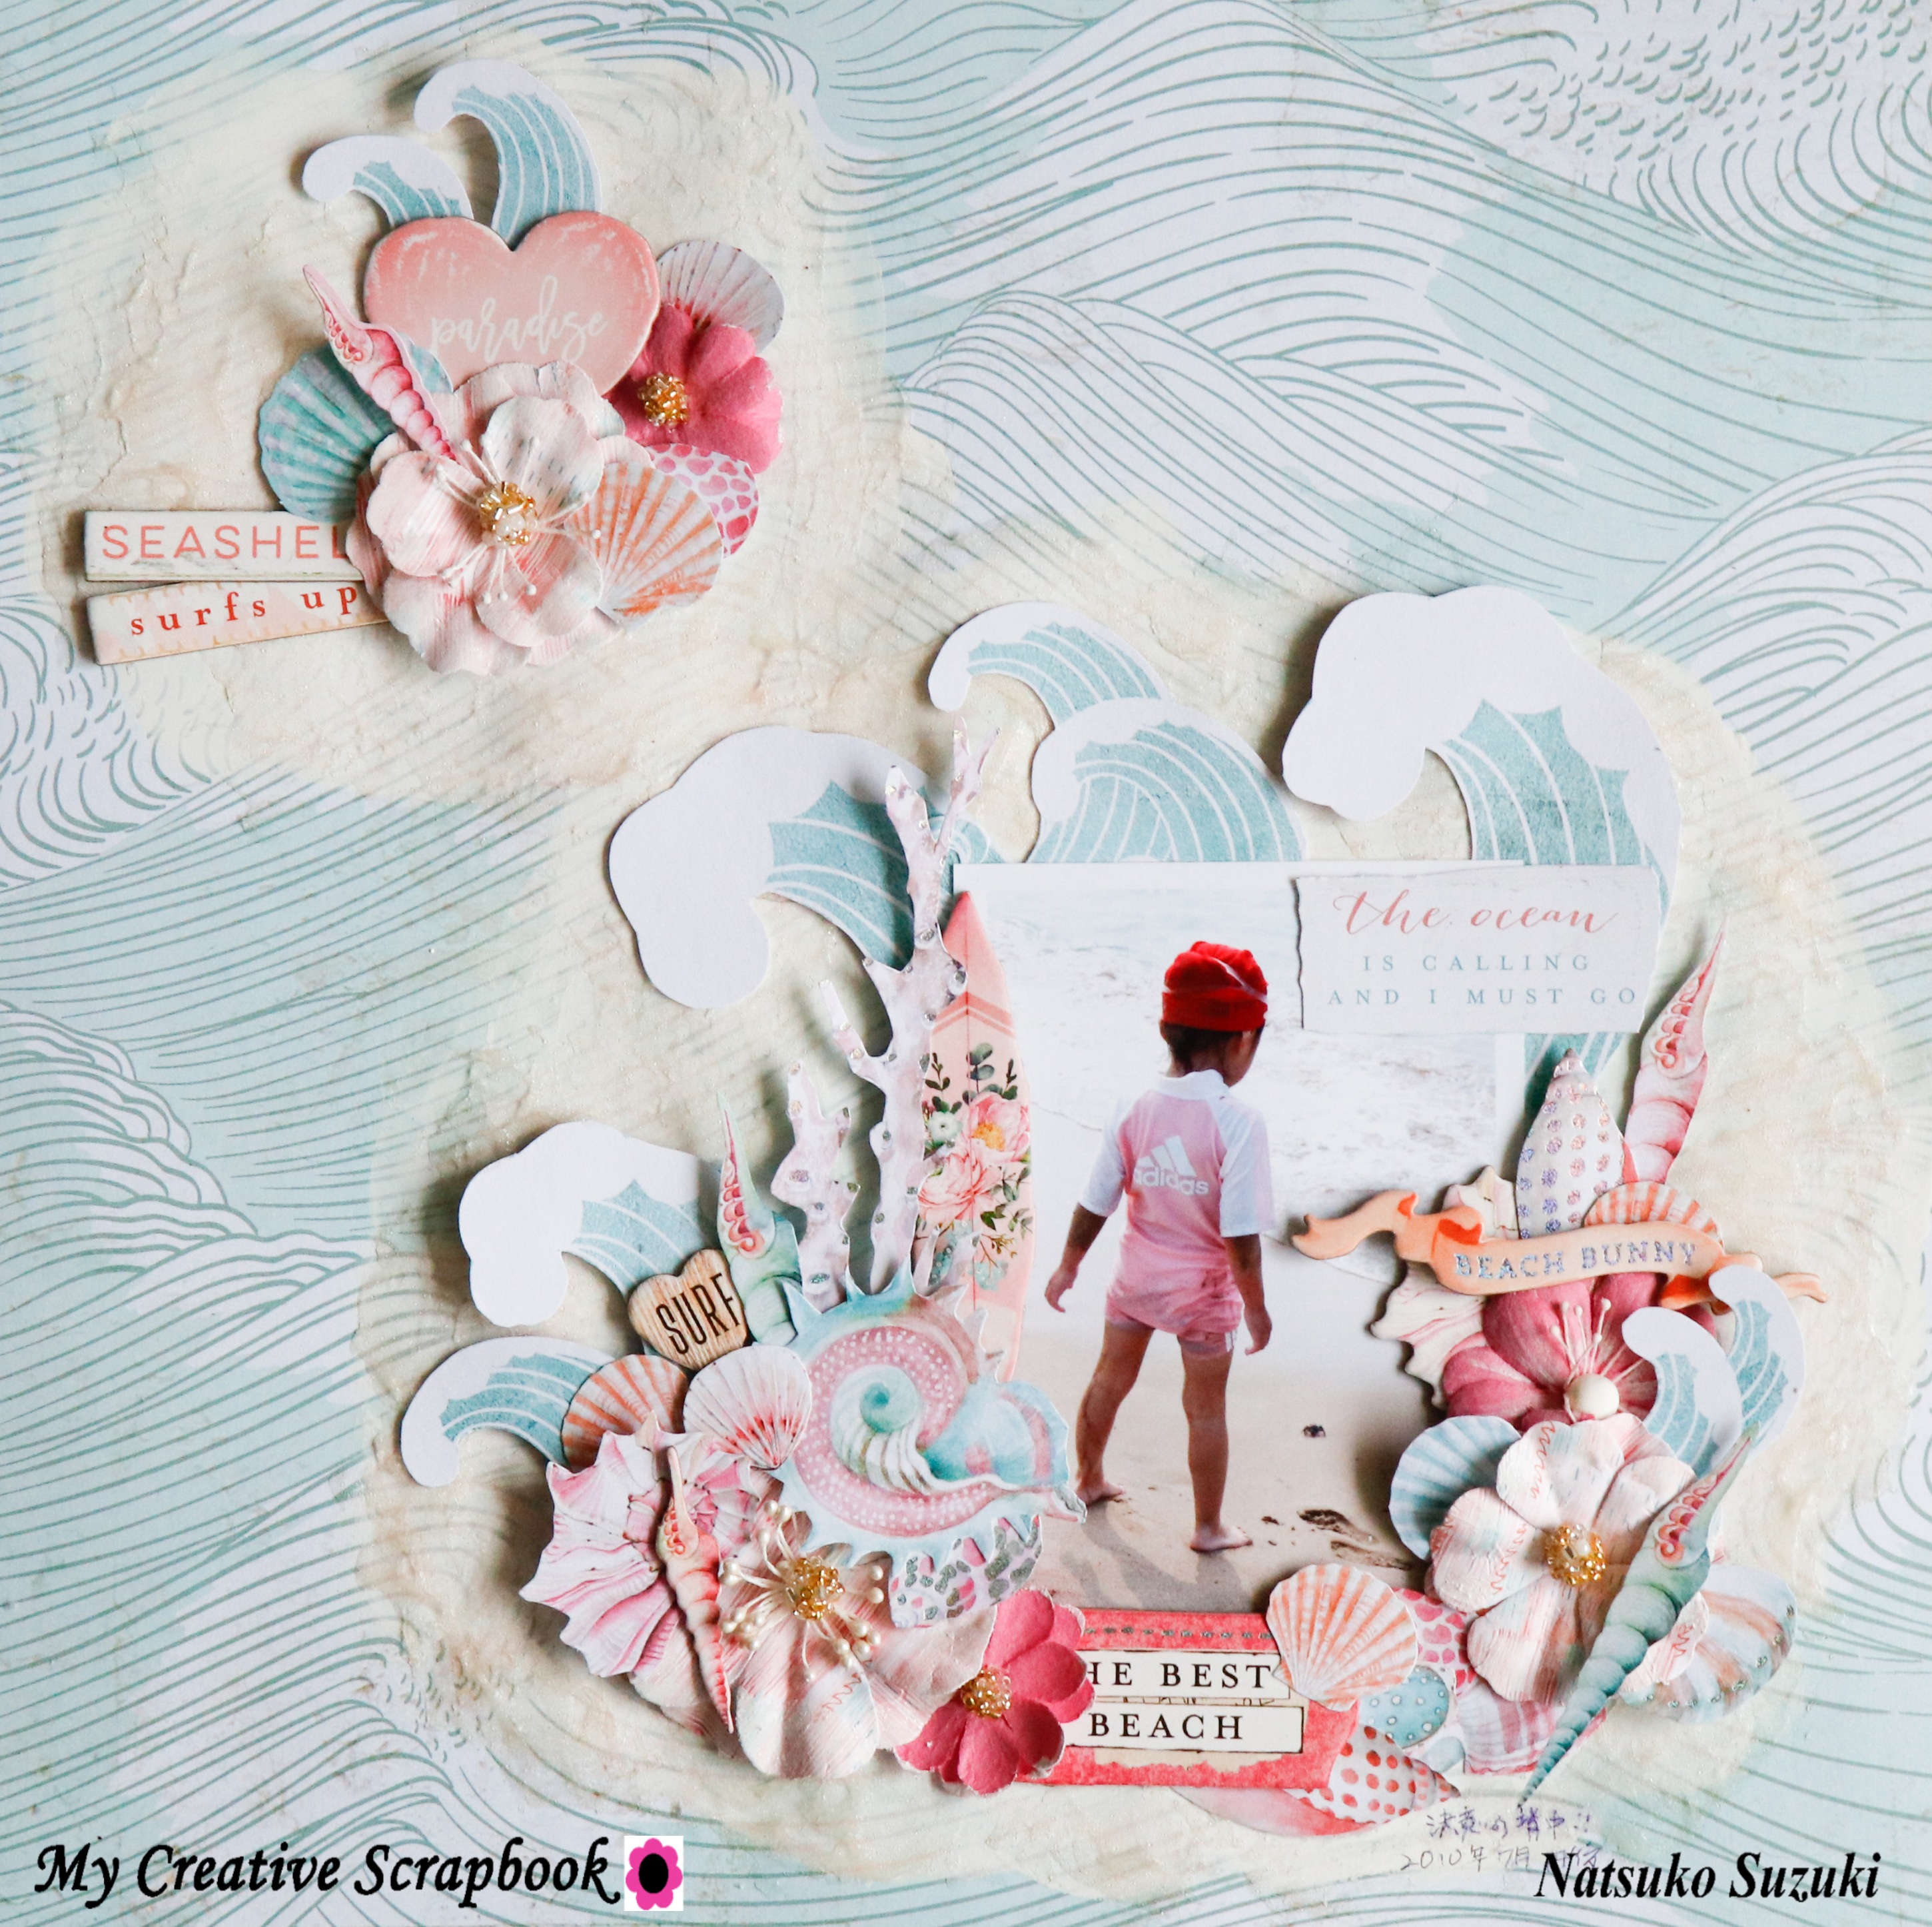
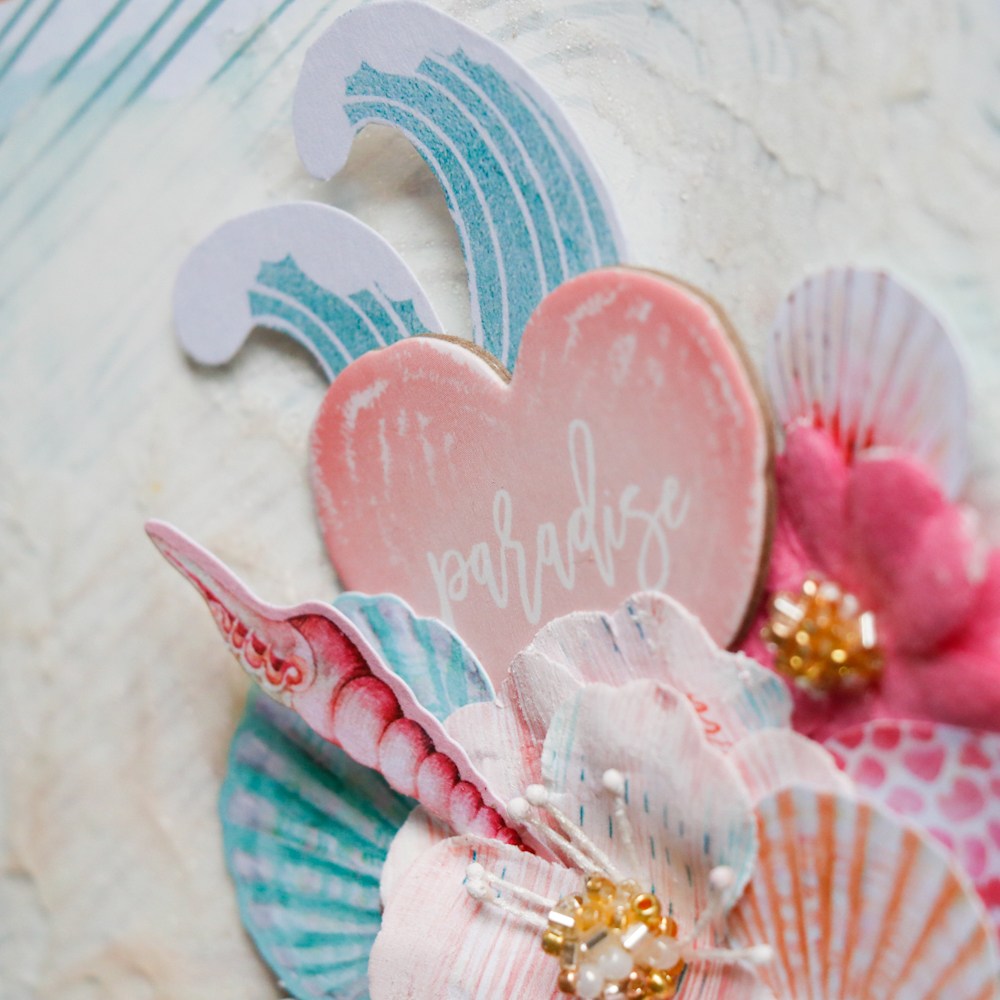
I used this wavy patterned paper for the background. I spread natural sand texture paste and let it dry. I decorated around and under the photo with diecuts, chipboard, fussy cut pieces and prima flowers. I created dimention by putting foam underneath and overlapping the embellishments. Here are the close-ups;

こんにちは!My Creative Scrapbook のLEキットで作った最後の12インチです。

背景にはこの波のペーパーを使いました。ナチュラルサンドテクスチャペイントを広げて乾かし、写真の周りをダイカット、チップボード、カットアウトしたものやプリマフラワーで飾りつけ。エンベリ同志を重ねて貼ったり、フォームを重ねたりして立体的になるように貼り付けました。クローズアップです♪


I still have a bunch of leftovers, so I will introduce a mini album next time!

まだまだ材料が残っているので、次回はミニアルバムを紹介しますね♡

You can get more information about this and the other kits at My Creative Scrapbook and you can find tons of inspiration in the blog too!

Thank you for visiting,  and have a scrappy day!

このキットと、その他のキットは My Creative Scrapbook で買えますよ~。ブログもどうぞ!
訪問して下さり、ありがとうございます!